Co-Author: Sushant Paudyal
This blog contains detailed information on how to access Amazon FSx for Windows File Server. The main goal is to assist the user to migrate their on-premise storage server to AWS FSx. Also, automatically make backup of their data, and store them in a secure location. Give each user their unique set of AD credentials which helps to maintain track of each user’s login information as well.
Architecture Diagram

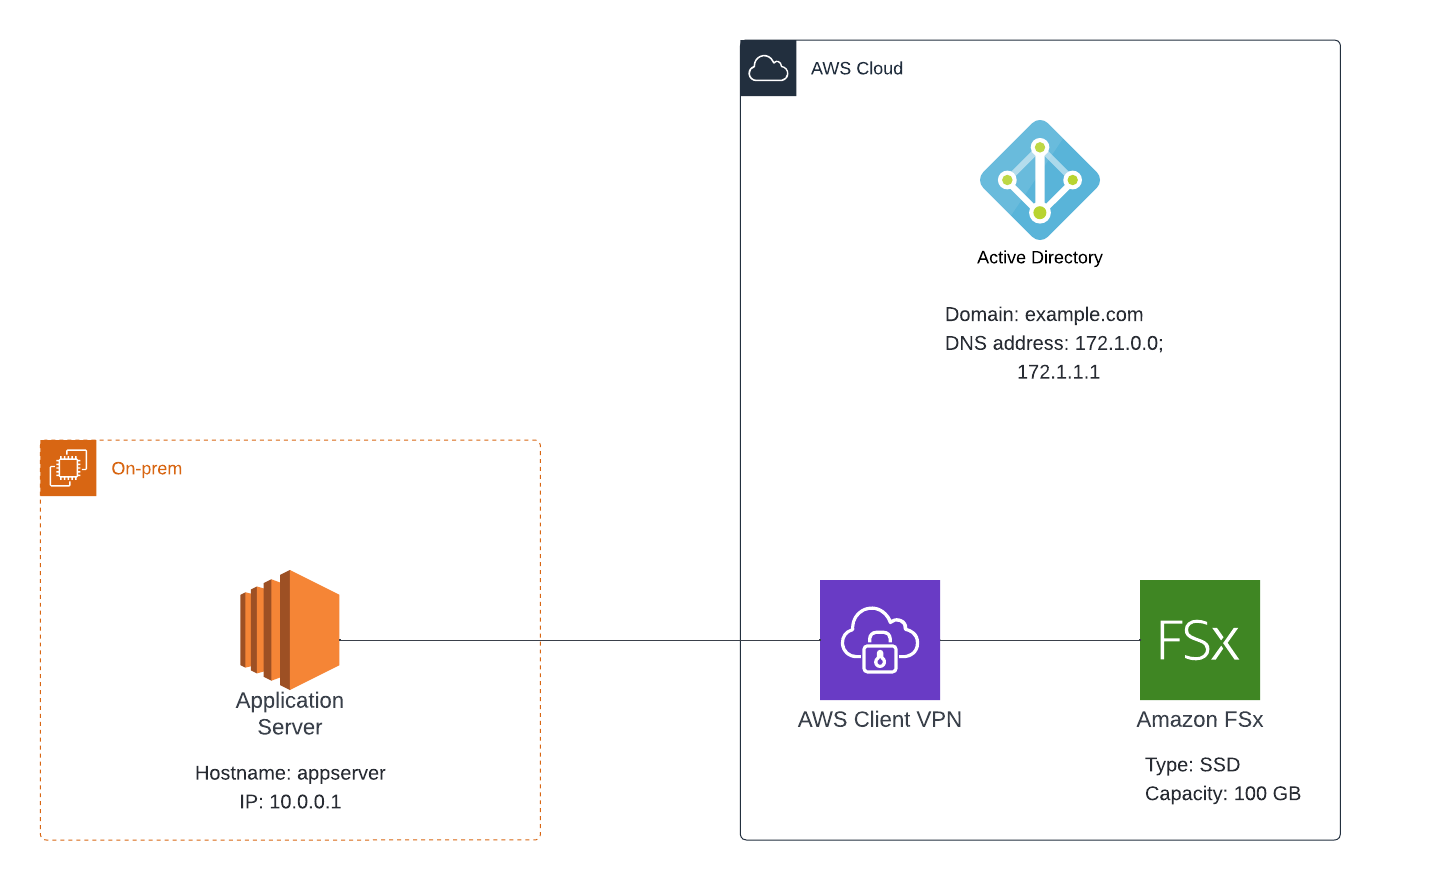
The architectural diagram above shows how the storage server might migrate to FSx. In the figure above, the application server is located on-premises, and the users can only access their storage server using an AWS Client VPN.
Prerequisites
You must have these before you can begin this guide. To create an Amazon FSx, you need the following:
- You must have Sign up for AWS
- Create an IAM user, permissions with AWS Directory, FSx, EC2 etc.
- Login with created IAM user credentials
The procedures we take to migrate data from on-premises to the cloud.
- Create AWS Directory
- Create FSx
- Create EC2
- Security
- Add Windows EC2 to Domain
- Create VPN Endpoint
- Mount on premise storage server to FSx
Step by step guide to Create AWS Directory
- Go to AWS Directory and choose Set up directory
- Select AWS Managed Microsoft AD
- Select Edition (Standard Edition)
- Provide Directory DNS name
- Provide Admin Password and confirm it.
- Choose VPC and Subnets
- Choose Create directory
Follow each step mentioned below to Create Amazon FSx
- Go to FSx Console
- Click on Create file System and choose FSX (Amazon FSx for Windows File Server).
- Provide File System name
- Used all default vpc and select security group which is associate with this default vpc
- Choose Windows authentication (AWS managed Microsoft Active Directory)
- Select a Directory
- Choose Encryption (aws/fsx {default})
- Choose Create
Create Amazon EC2 instance and configure AWS Client VPN & Private Access Across AWS Accounts and VPCs
- Choose Amazon Machine Image (Microsoft Windows)
First you need to create a certificate following the below steps without mistake. To Clone Easy RSA Git Repo run below commands
- git clone https://github.com/OpenVPN/easy-rsa.git
Initialize Public Key Infrastructure (PKI)
- ./easyrsa init-pki
Build Certificate Authority
- ./easyrsa build-ca nopass
Build Server Certificate
- ./easyrsa build-server-full clientvpndemo.com nopass
Build Client Certificate
- ./easyrsa build-client-full pdomala.clientvpndemo.com nopass
This is optional to copy required certificates into a single folder and upload to AWS Certificate Manager (ACM). We would make a folder for ease and copy the necessary certifications into it.
- mkdir acm
- cp pki/ca.crt acm
- cp pki/issued/clientvpndemo.com.crt acm
- cp pki/issued/pdomala.clientvpndemo.com.crt acm
- cp pki/private/clientvpndemo.com.key acm
- cp pki/private/pdomala.clientvpndemo.com.key acm
- cd acm
- aws acm import-certificate –certificate fileb://”name”.com.crt –private-key fileb://”name”.com.key –certificate-chain fileb://ca.crt –region ap-southeast-2
- aws acm import-certificate –certificate fileb://”ghht.name”.com.crt –private-key fileb://”ghht.name”.com.key –certificate-chain fileb://ca.crt –region ap-southeast-2
For more information, visit this link: https://prasaddomala.com/2020/04/02/aws-client-vpn-setup-private-access-across-aws-accounts-and-vpcs/
To configure AWS Client VPN for Windows
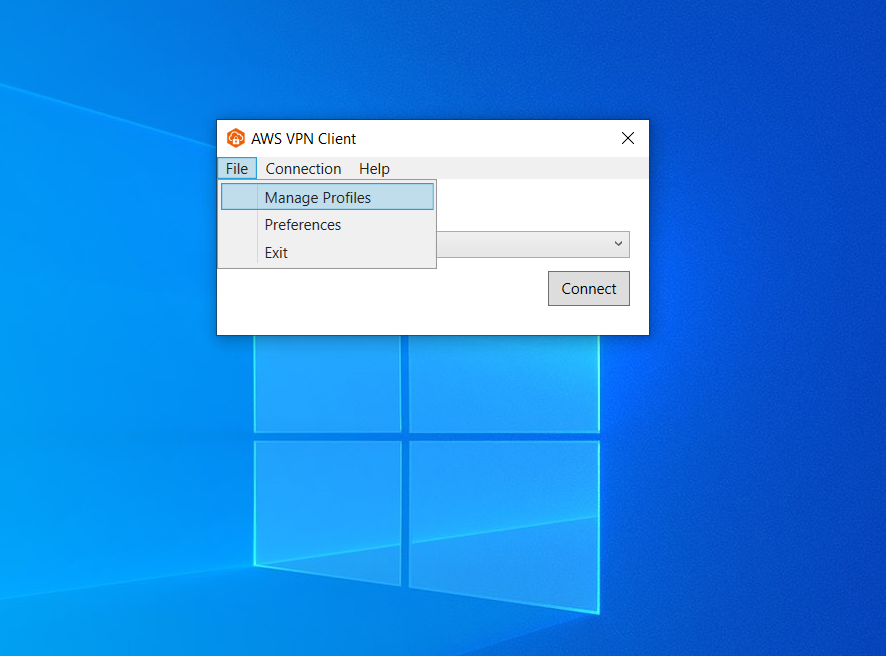
- Open the AWS VPN Client app
- Choose File, Manage Profiles
- Choose Add Profile
- For Display Name, enter a name for the profile.
- For VPN Configuration File, browse to and then select the configuration file that you received from your Client VPN administrator, and choose Add Profile.
- In the AWS VPN Client window, ensure that your profile is selected, and then choose Connect. If the Client VPN endpoint has been configured to use credential-based authentication, you’ll be prompted to enter a user name and password.
- To view statistics for your connection, choose Connection, Show Details
Monitoring
You can also monitor the active connections through the Client VPN endpoints dashboard inside the AWS Management Console.

Additionally, logs for various events are generated in the Cloudwatch console.

Instructions to connect to the cloud storage server(FSx server)
Overview
This document provides step-by-step instructions for the users to mount the FSx server onto their local machine.
Instructions
Step I: Install AWS Client VPN
- Go to Download AWS Client VPN
- Download the AWS Client VPN installation file (AWS Client VPN for Windows, 64-bit)
- Run the downloaded file to install the software
Step II: Move the provided certificate and key files to a specific location.
- On your machine, navigate to local disk C (C:/)
- Create a folder named openvpn.
- Move the provided crt and key files inside this folder
Step III: Connect to the Client VPN endpoint
- Open AWS Client VPN software
- Select Files>>Manage Profiles
- Select Add profile

5. For VPN Configuration file, locate the provided ovpn configuration file
6. Select Add profile and then connect with that profile
Step IV: Join Domain to a computer
- Open This PC and go to my computer properties
- Choose Change, Select Member of Domain >> Enter the AD domain name (example.com), then click on Ok
- Enter AD user credentials (Username and Password) and click on Ok
- Choose Restart Later
Step V: Mount FSx
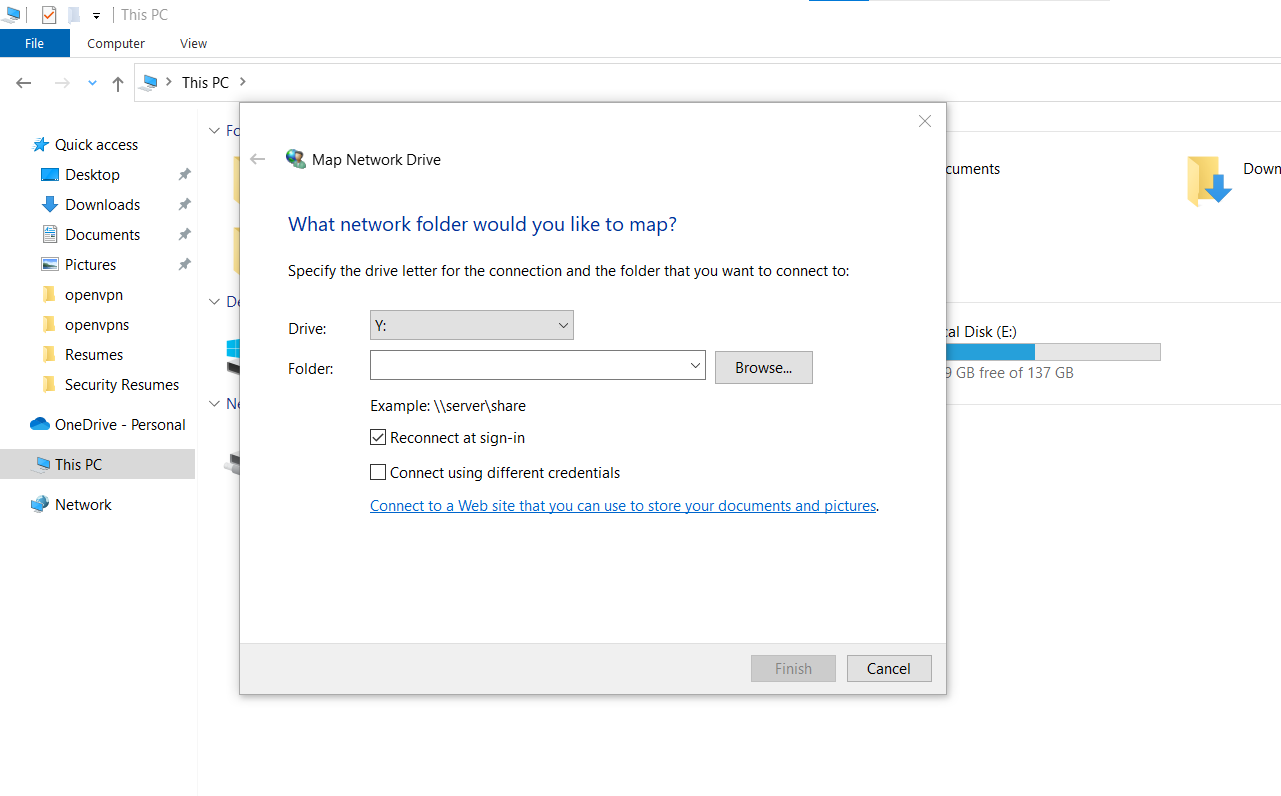
- Go to windows server This PC >> Map network drive and paste FXs DNS name (\\amznfsx.example.com\share)

3. Provide AD credentials and click on Ok
4. If the connection is successful, you can see the Amazon FSx share
